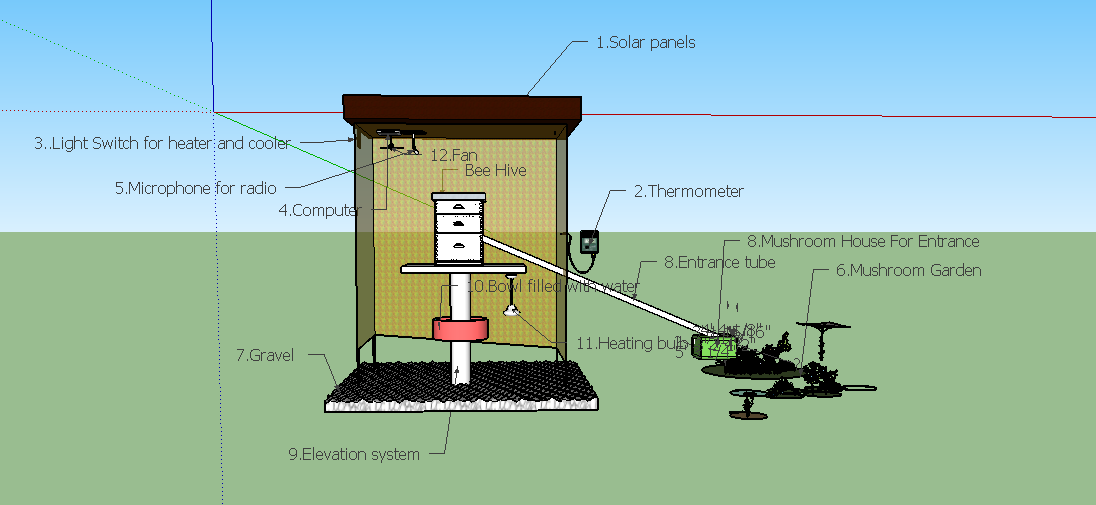
1. The first component of our BeeSafe are the solar panels. These solar panels will be powering a heater and fans to control temperature and air circulation. This will also power a radio which will allow us to listen to the bees.
2. There will be a thermometer to is to measure the temperature in the BeeSafe, to make sure that the temperature is beneficial for the bees.
-Insulation such as fans and heaters will be places on the sides of the safe.
3. The third component of our BeeSafe is a small switch that is located underneath the lid of the BeeSafe. This switch will be a manual component to control the heater and the fans. However there will be something to trigger the switch so if the BeeSafe gets to hot, the switch will stop the heat an if needed turn on the fans.
4. A small computer will be placed to monitor the bees as another strong technology component.
5.A radio will be located inside the safe to supervise the buzz of the bees.
6.The sixth component of the BeeSafe is the little garden of mushrooms that will be planted low on the ground with a shade canopy covering the top. These mushrooms act as a medicine for the bees. If the bees were to be attacked by zombie mites, they could die. However with the access of the mushrooms, they will get juice from the mushrooms that will cure them.
7.A very important component of our BeeSafe is gravel, which the BeeSafe will be buried on. This Gravel will protect anything to go onto the bee safe.
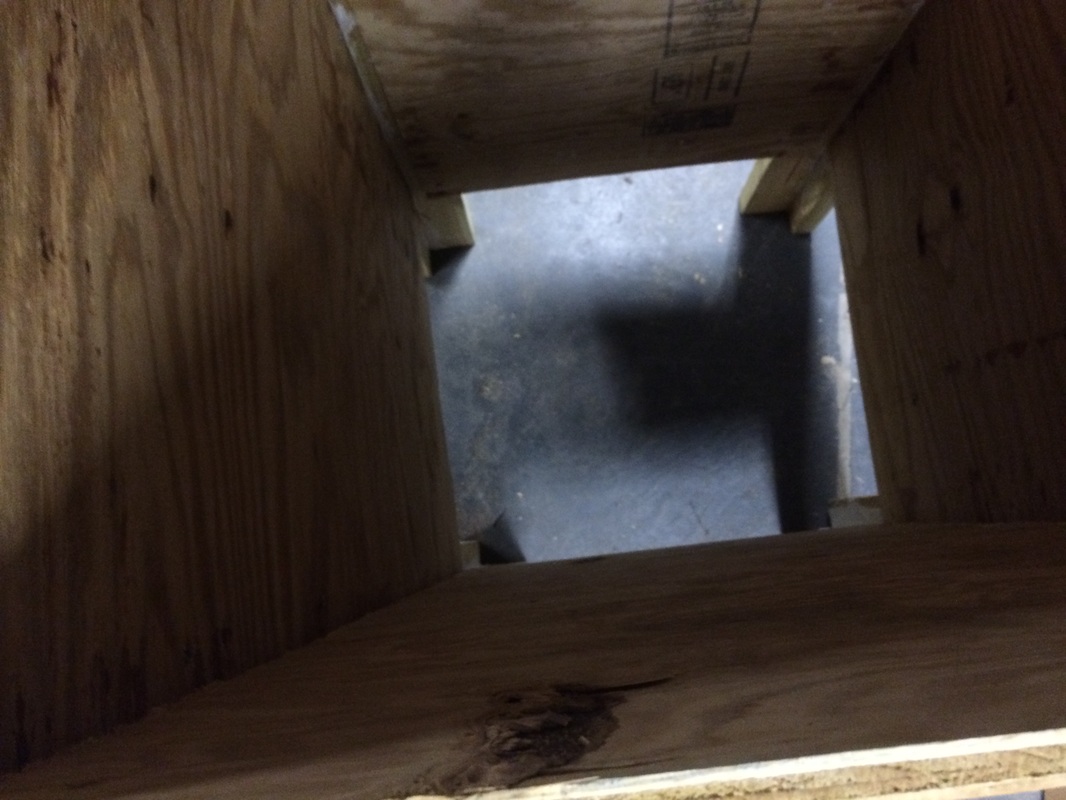
8.The eighth component of our BeeSafe is the entrance for the bees. The entrance will start at low level,by the ground. The entrance will start off as a miniature box. The box will lead to a PVC pipe, and in the beginning of the PVC pipe there will be a trail of brushes that will lead through the whole pipe. The pipe will eventually open an entrance in the safe and the hive. There will be a hole cut out in the safe, that will lead to another hole through the hive, which are evenly structured.
9.The nine component of our Beesafe is the elevation system that is on the bottom of the whole safe. There has to be elevation because the beehive that has to fit in the BeeSafe, must be elevated according to where the entrance is because the holes that will be made for the entrance have to meet up. The elevation system includes a long, strong pipe. That has to hold the whole hive, On top of the pipe that holds the safe will be a platform.
10. Below the elevation system, there will a bowl filled with water to capture any mites or bugs so they won’t enter the BeeSafe.
11. A heating bulb will be placed upside down by platform of the elevation system. The heat will rise and warm the bees.
12. There will be a fan placed underneath the top of the safe. The fan will be pointing down so the air will circulate evenly throughout the bee safe.
Day One
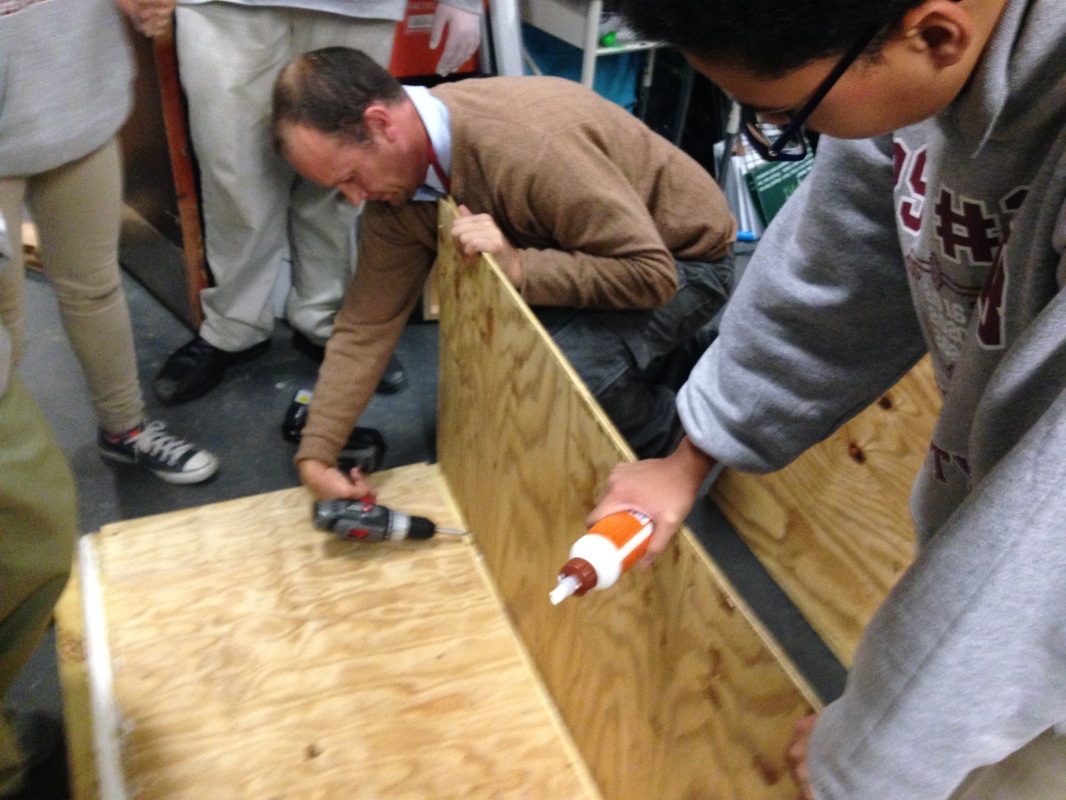
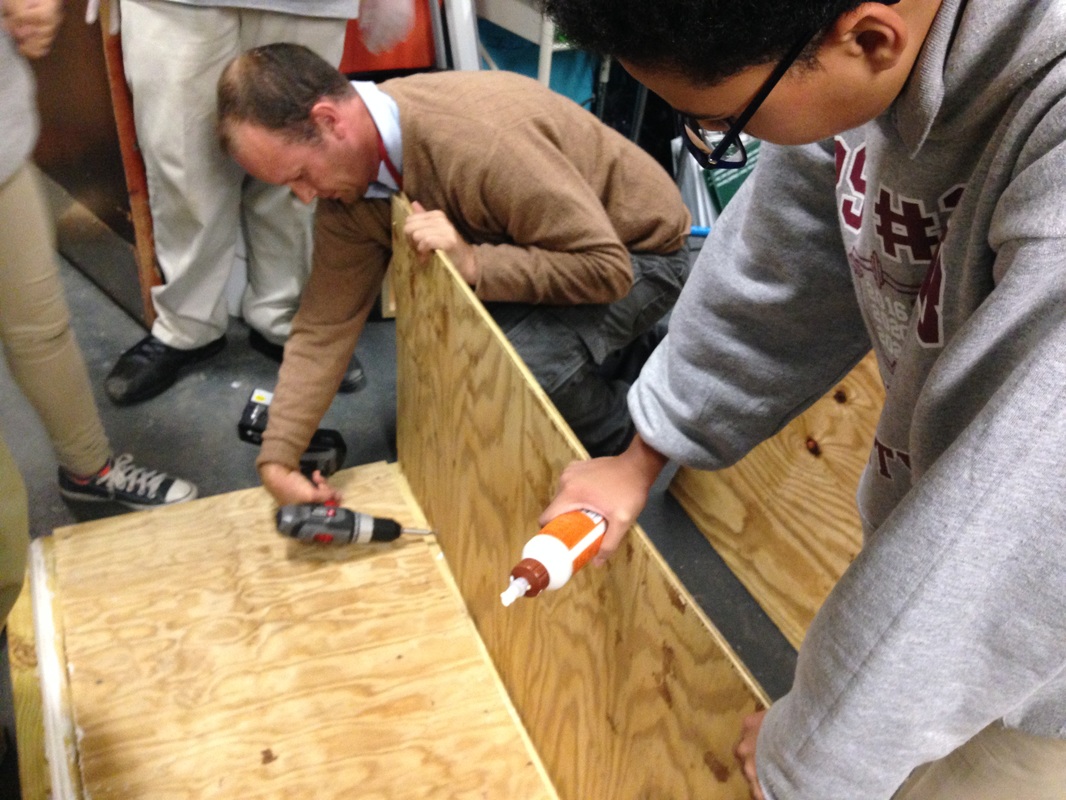

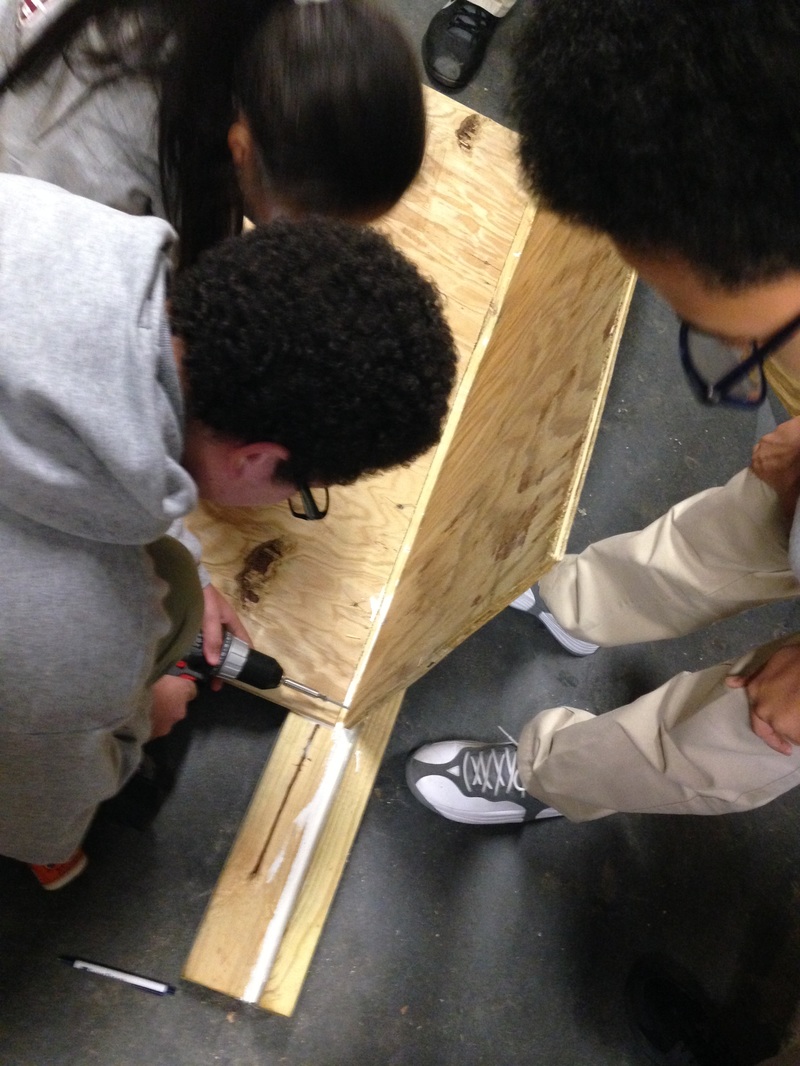

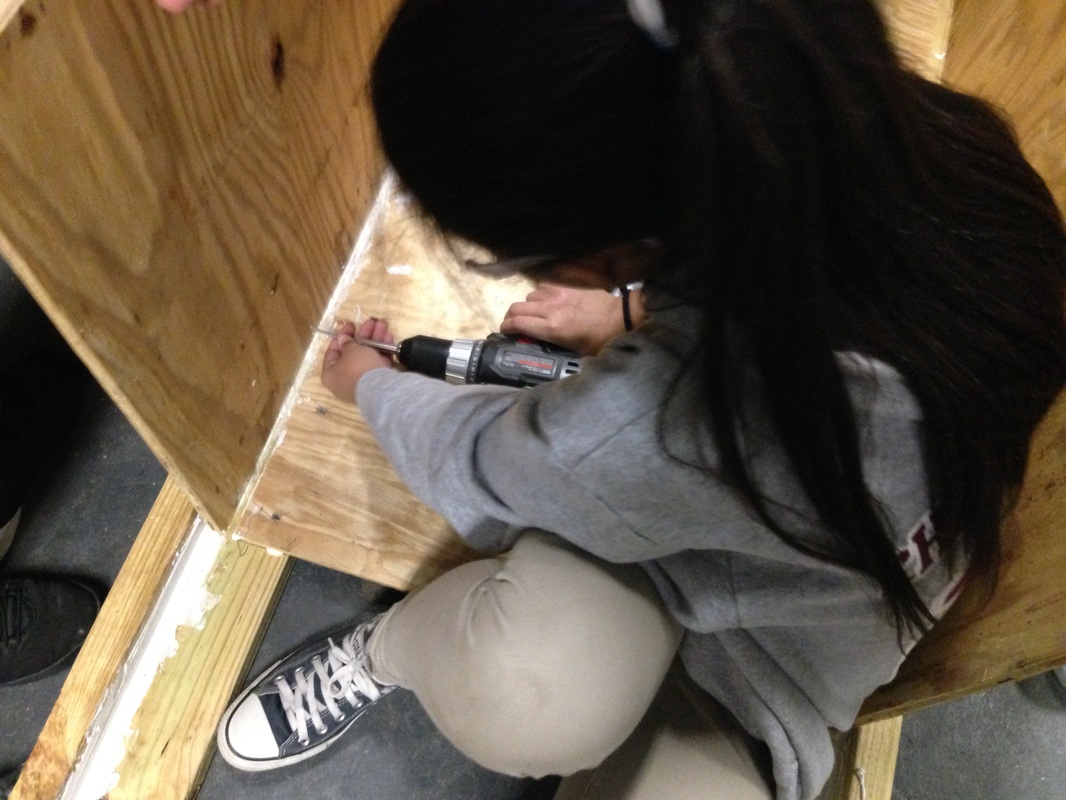
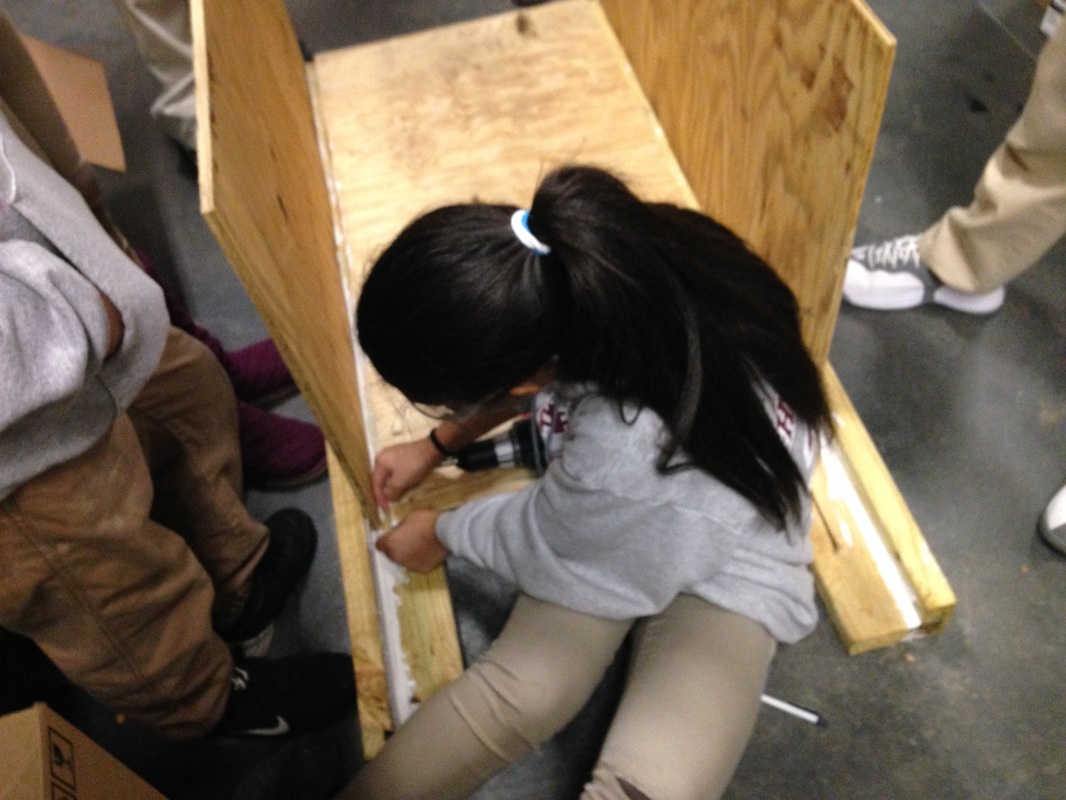


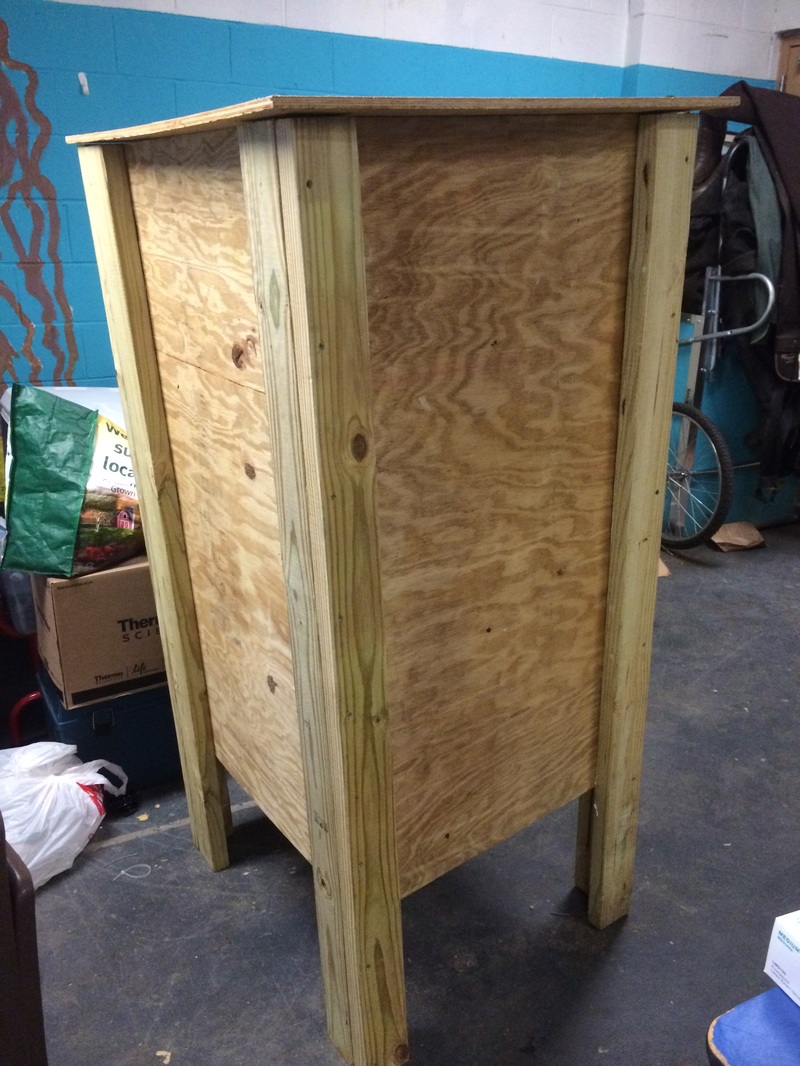
Day 1 was very successful! We were able to build and attach the main frame of our BeeSafe.
Day Two


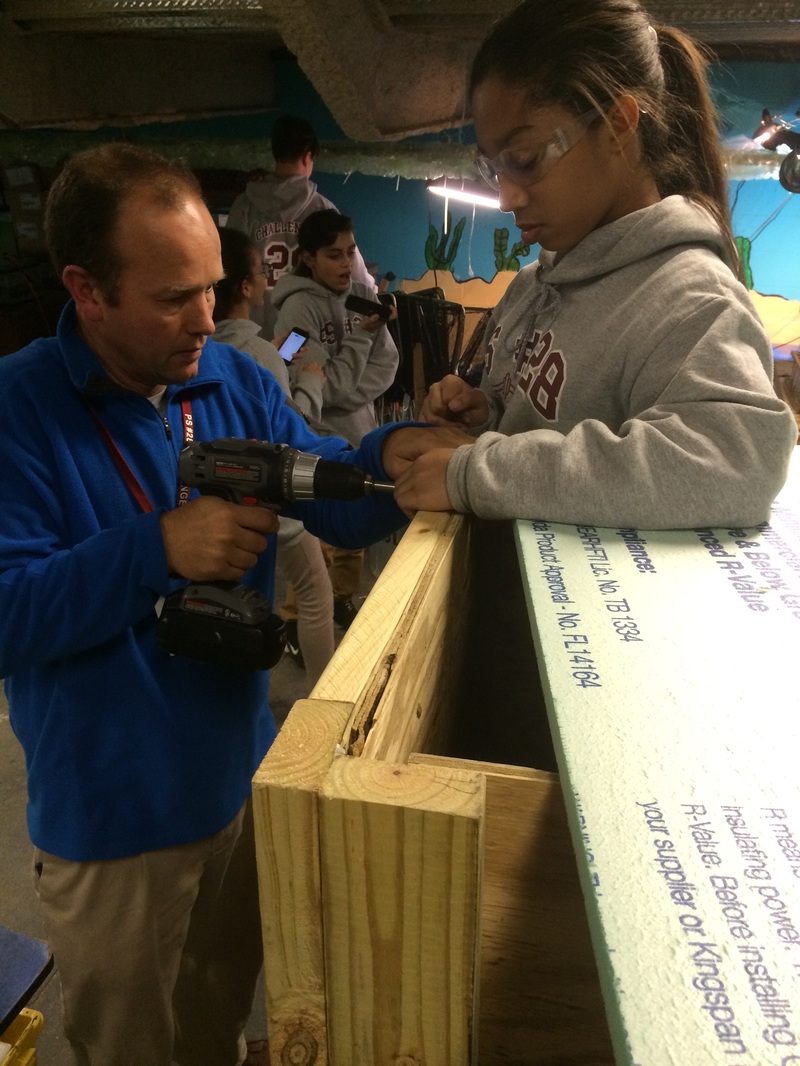
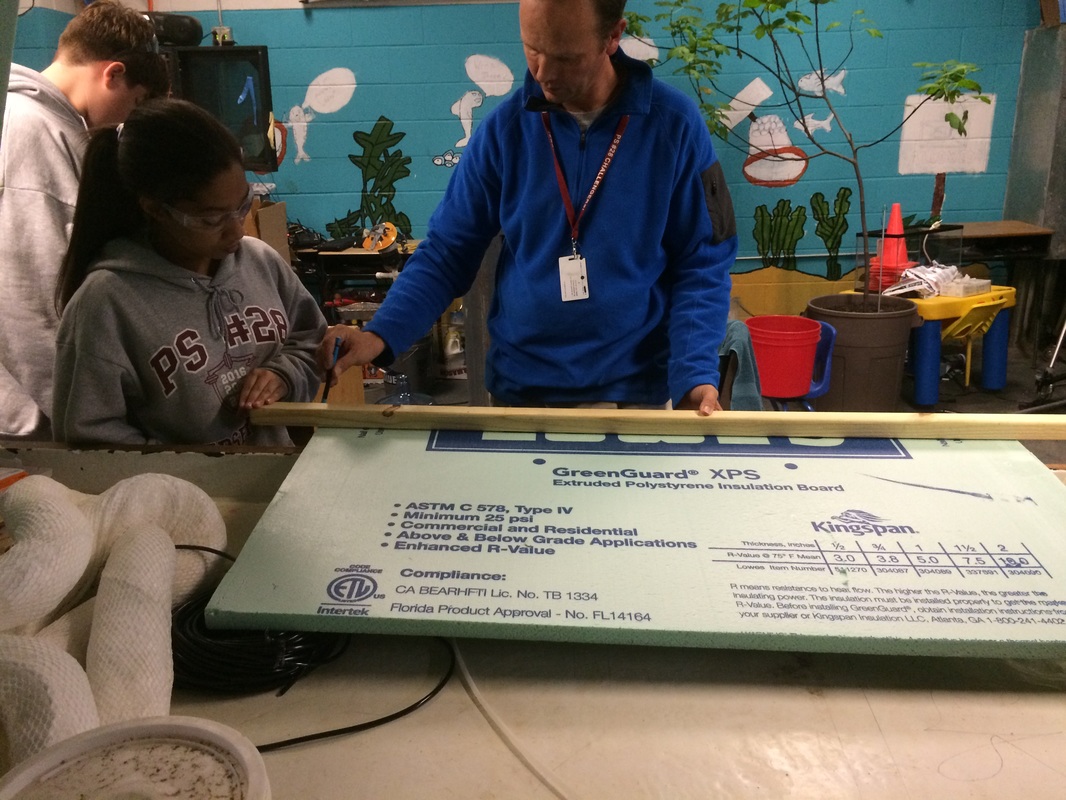
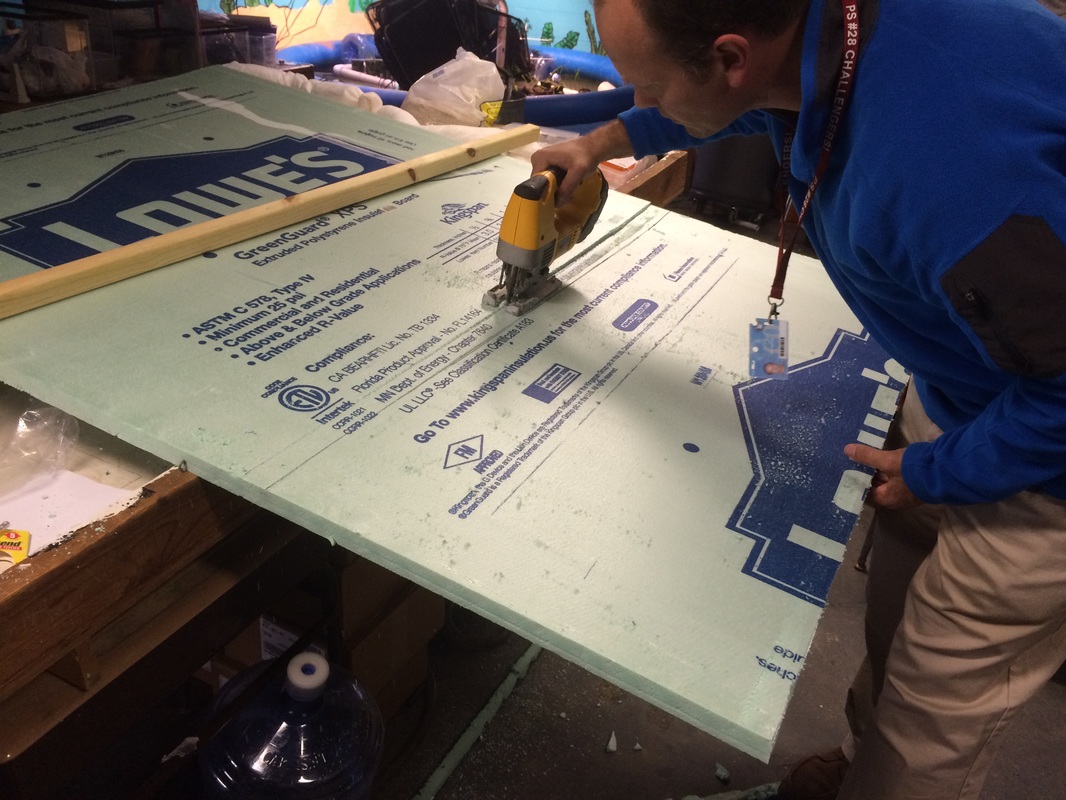

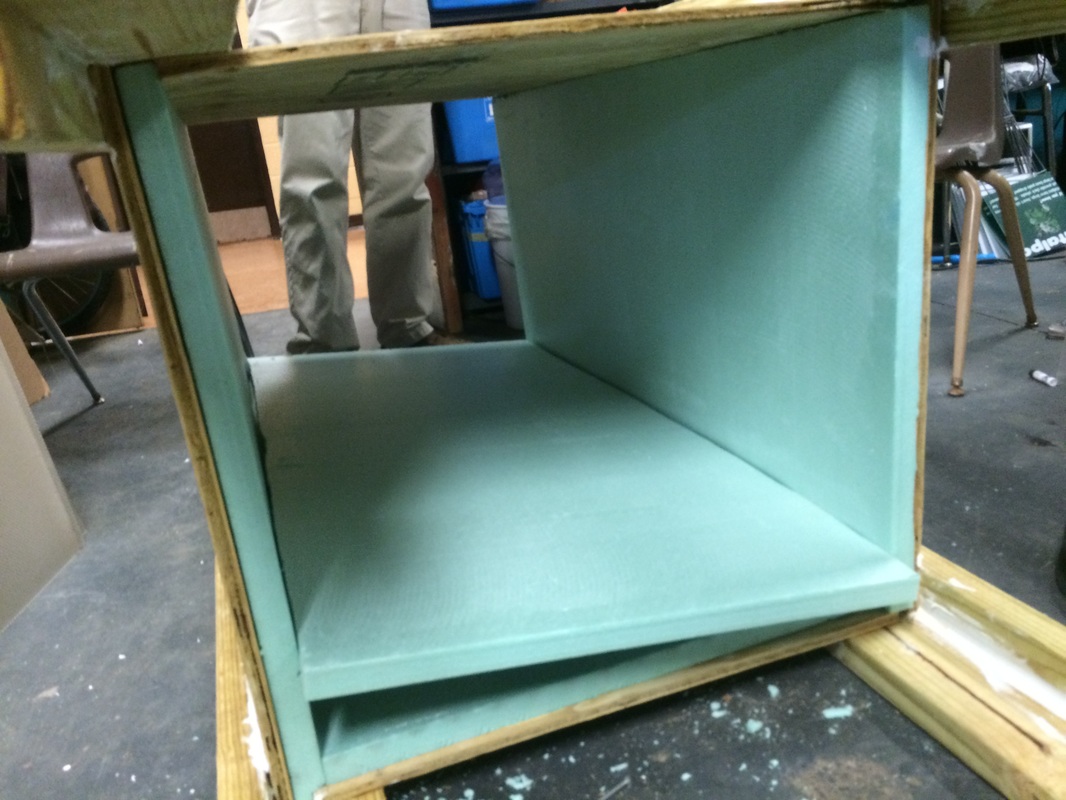
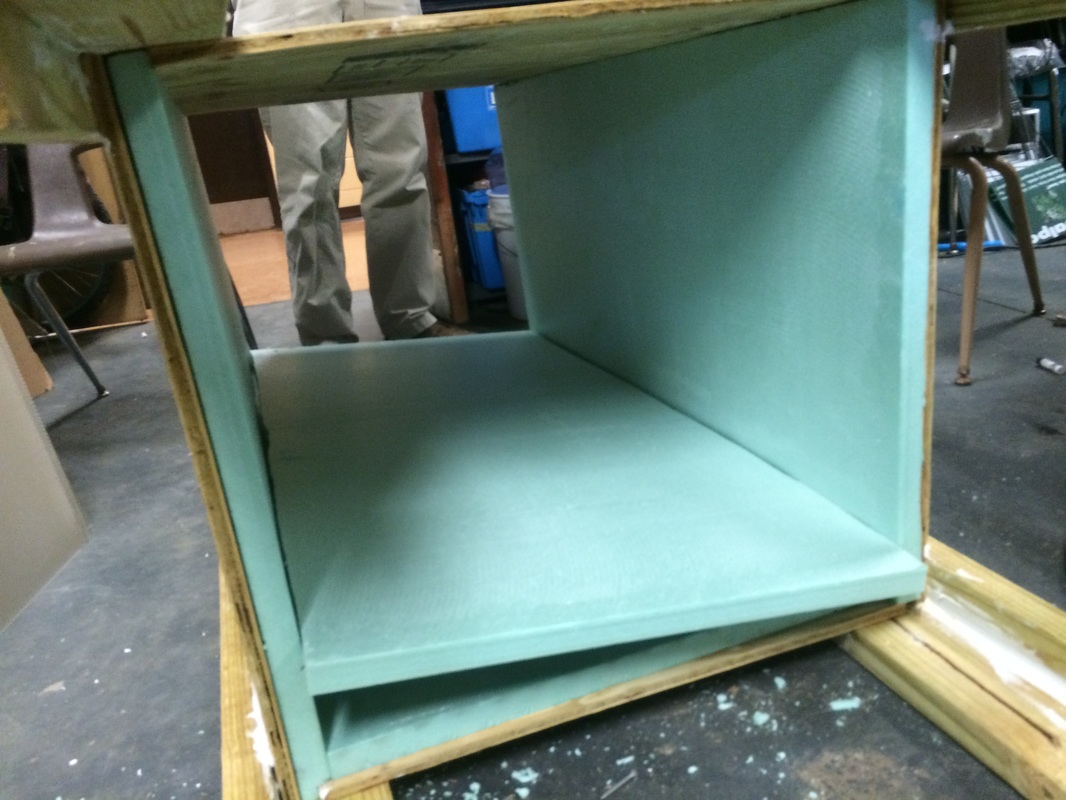

Day 2 was insulation day! We cut our pieces of insulation and placed it in the BeeSafe.
Day Three
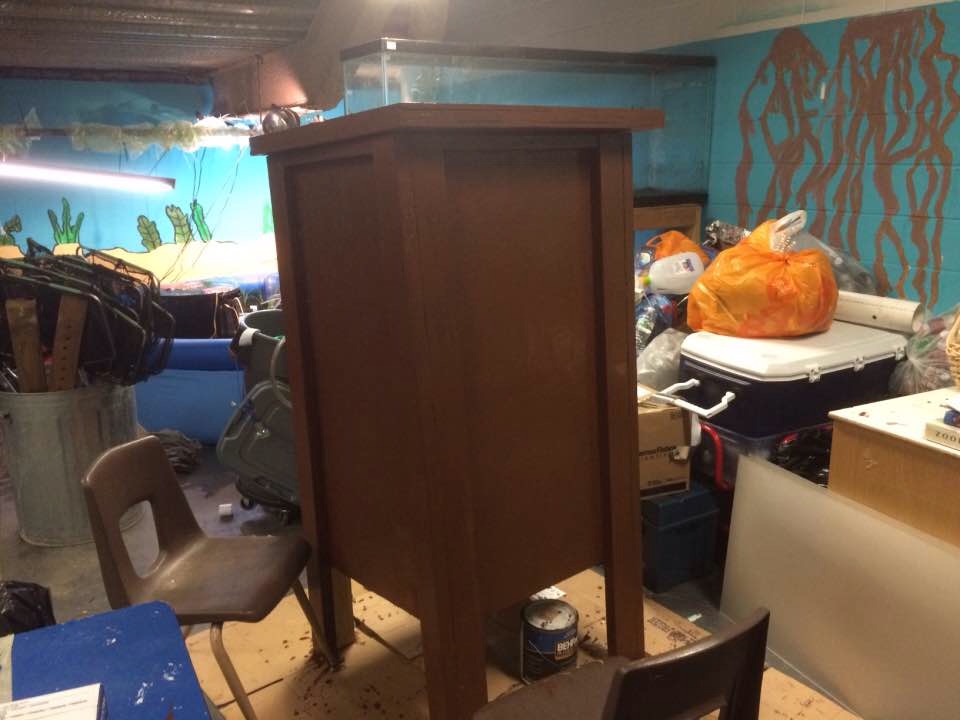
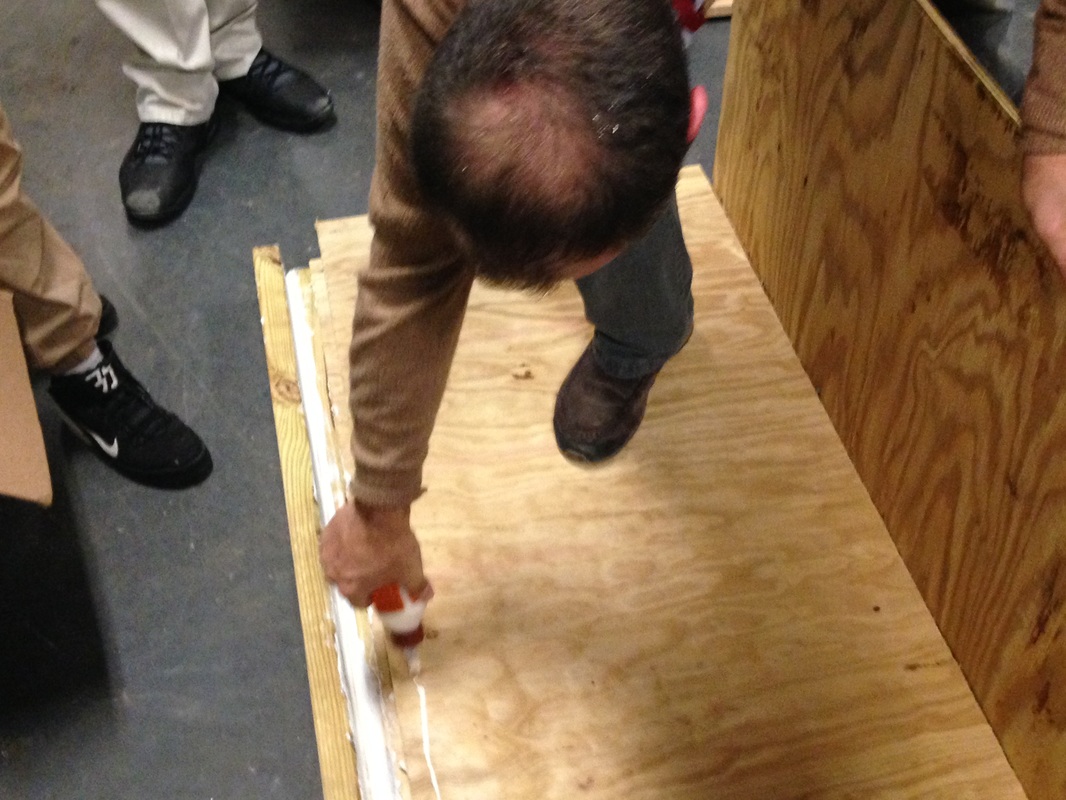
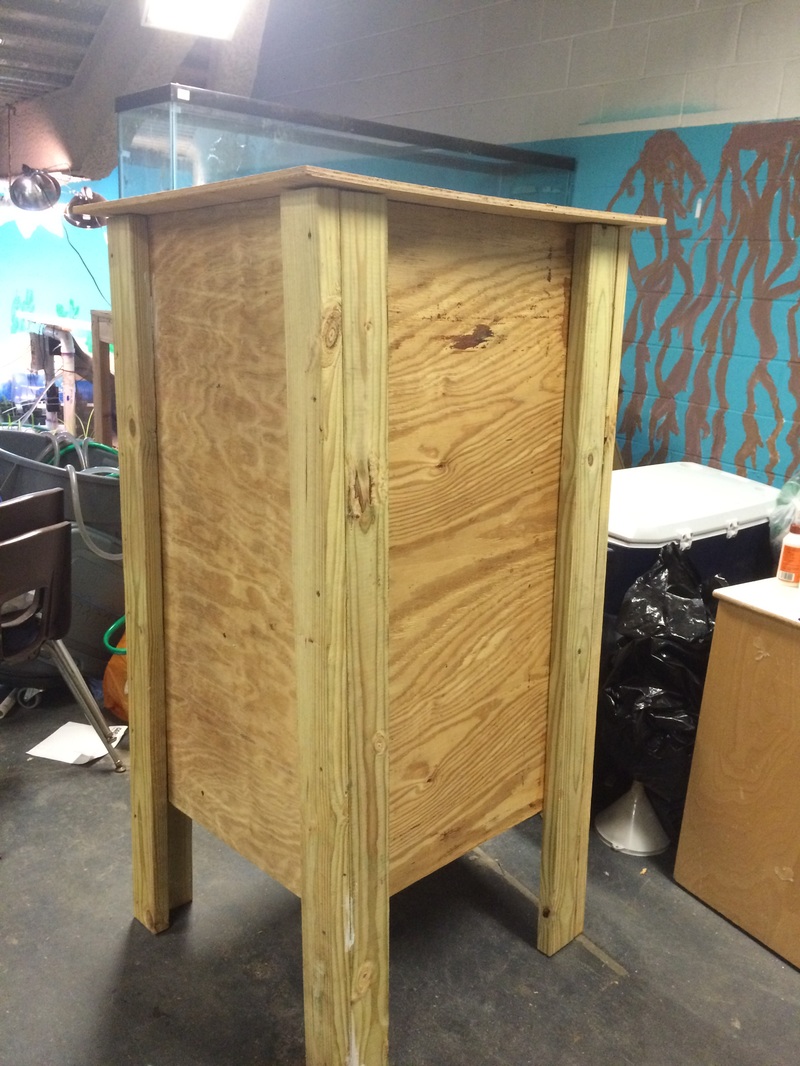
The messiest day of the building of the BeeSafe. A full coat of weather proof paint was added to the BeeSafe.
Day Four
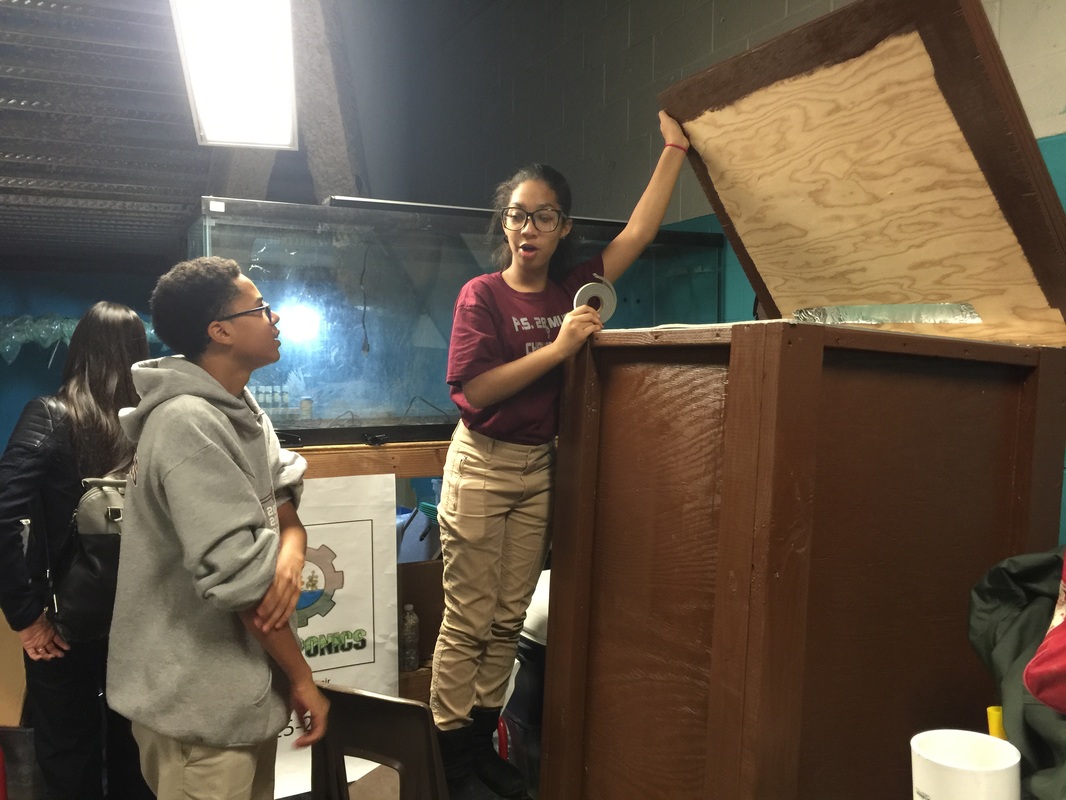
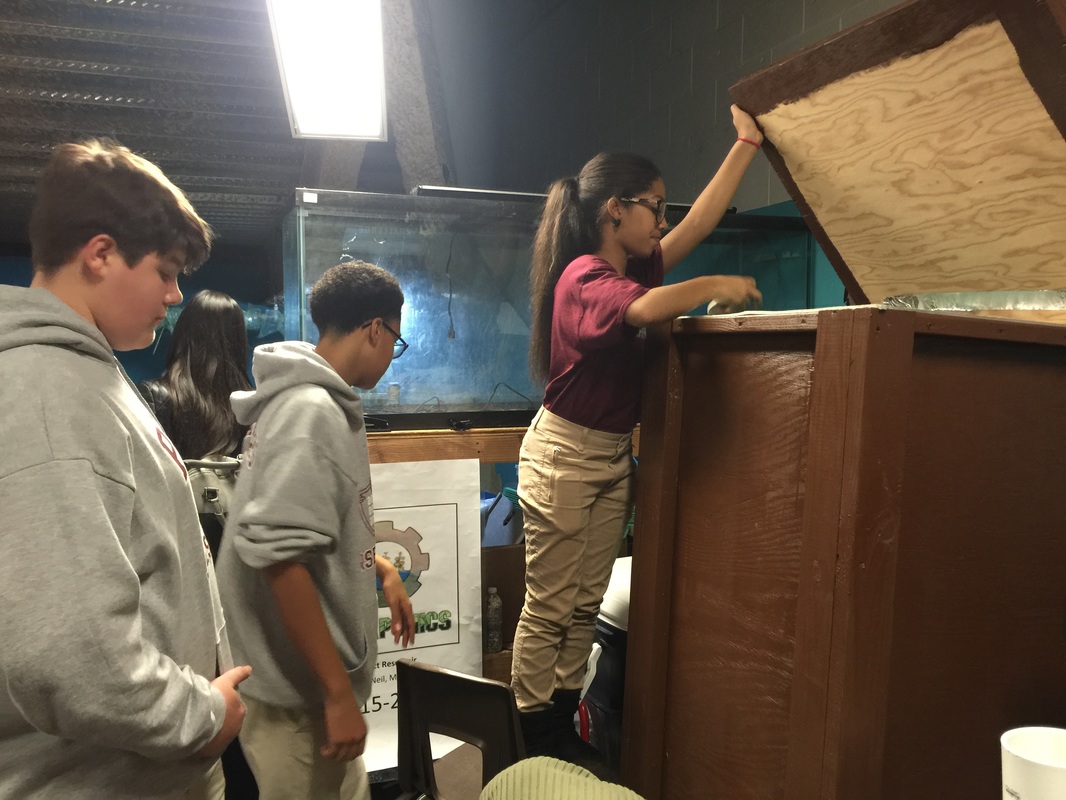
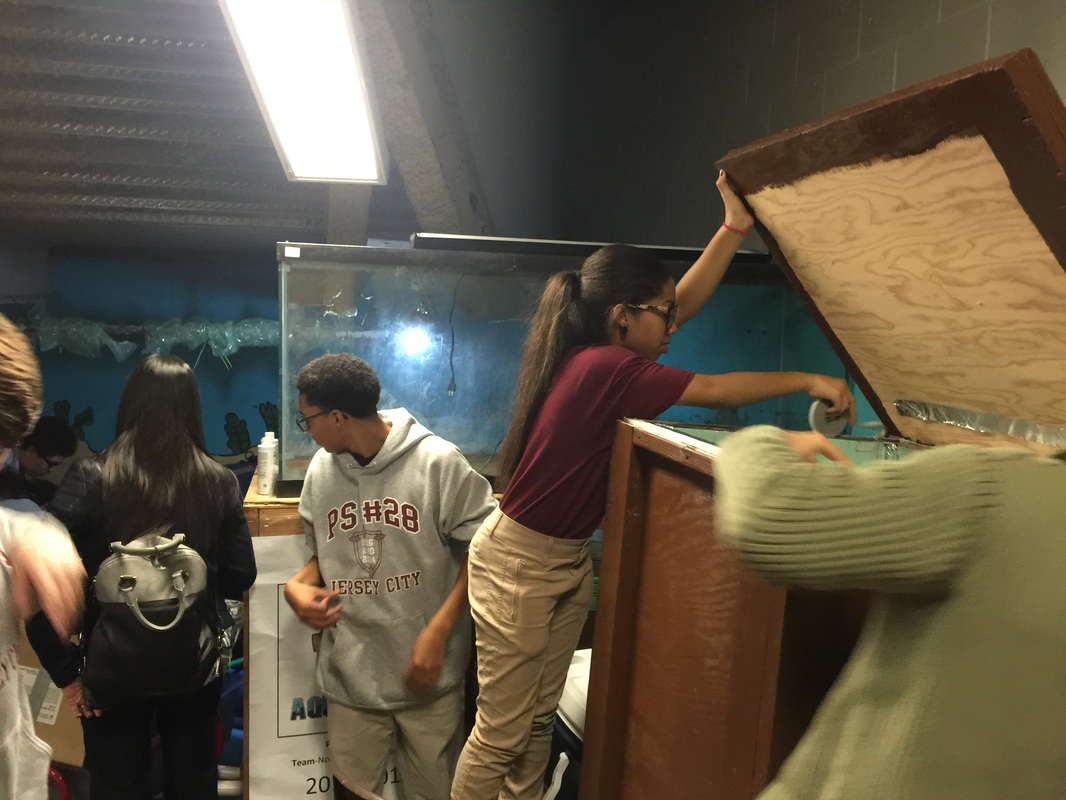

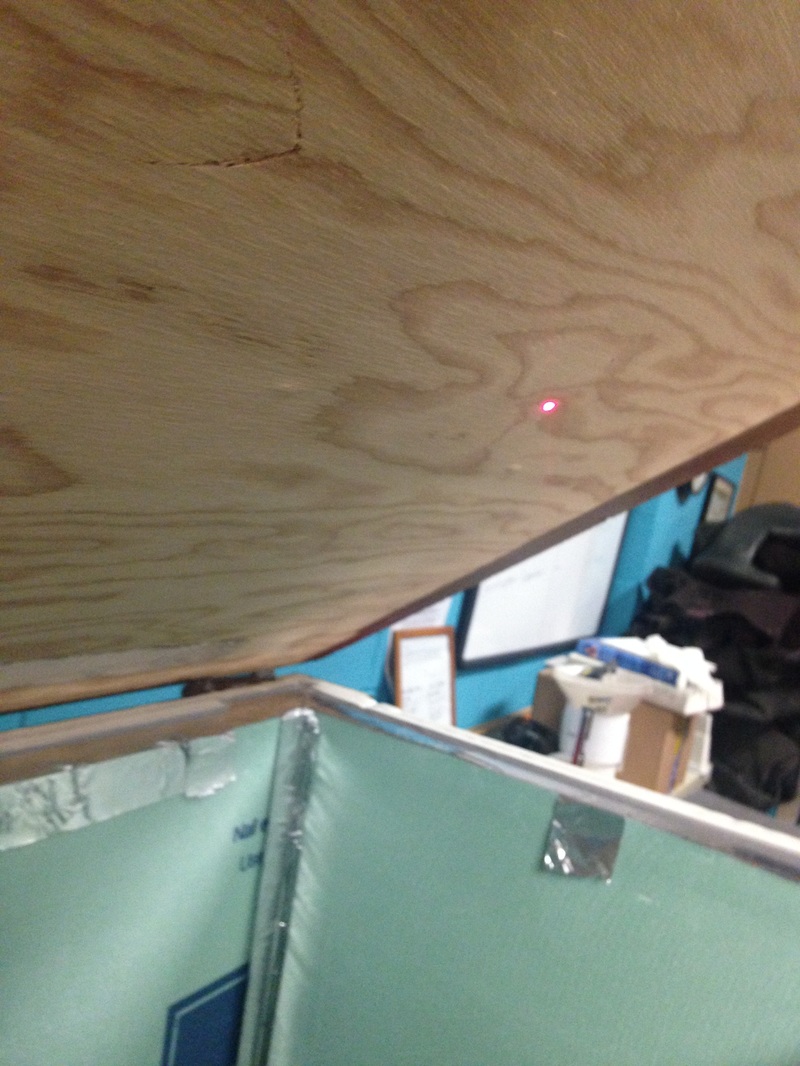
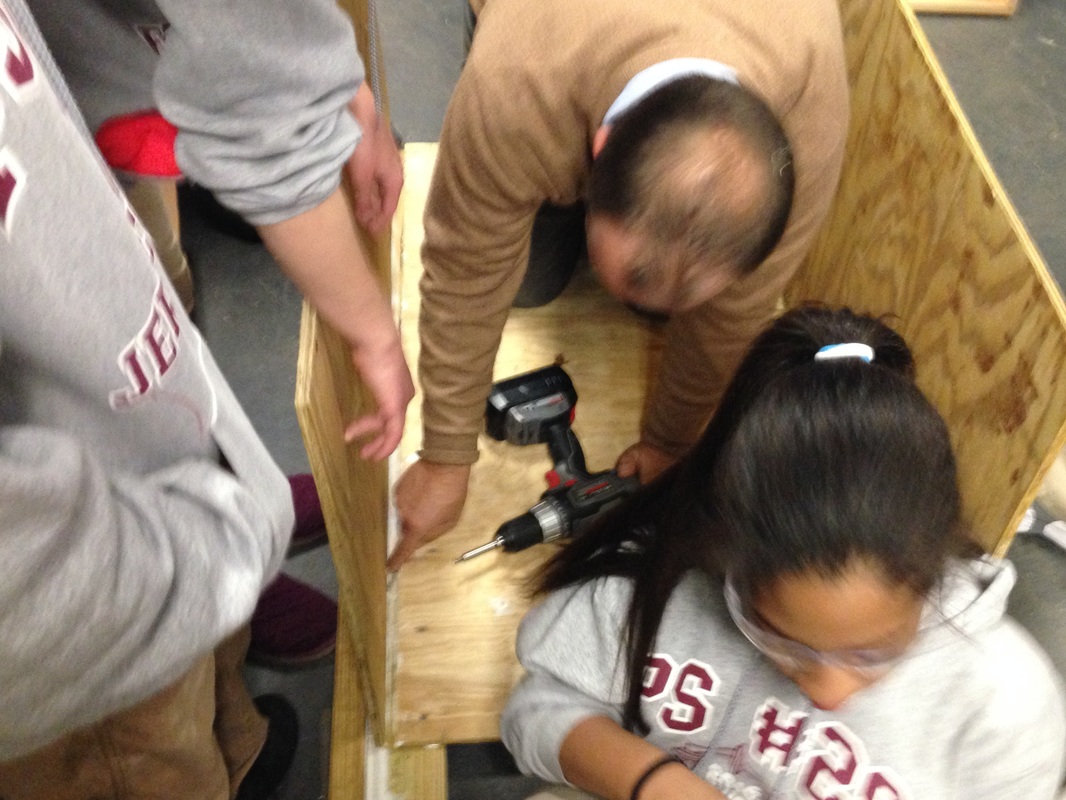
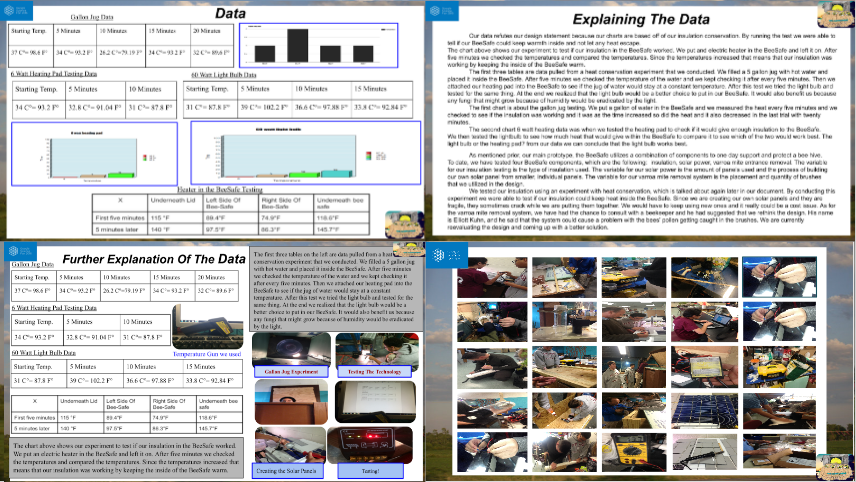
Day 4! We added sealing tape on the edges of the top part of the BeeSafe where the lid sits. We added it so that we it closes it doesn't hit against the bee safe and it lays down softly. We also put a heater inside the bee safe and we measured the heat inside of it.
When measuring the heat coming from inside we looked for gaps, or little holes that the heat could possibly escape from and we would figure out the temperature in different areas of the bee safe.
When measuring the heat coming from inside we looked for gaps, or little holes that the heat could possibly escape from and we would figure out the temperature in different areas of the bee safe.
(January and February)

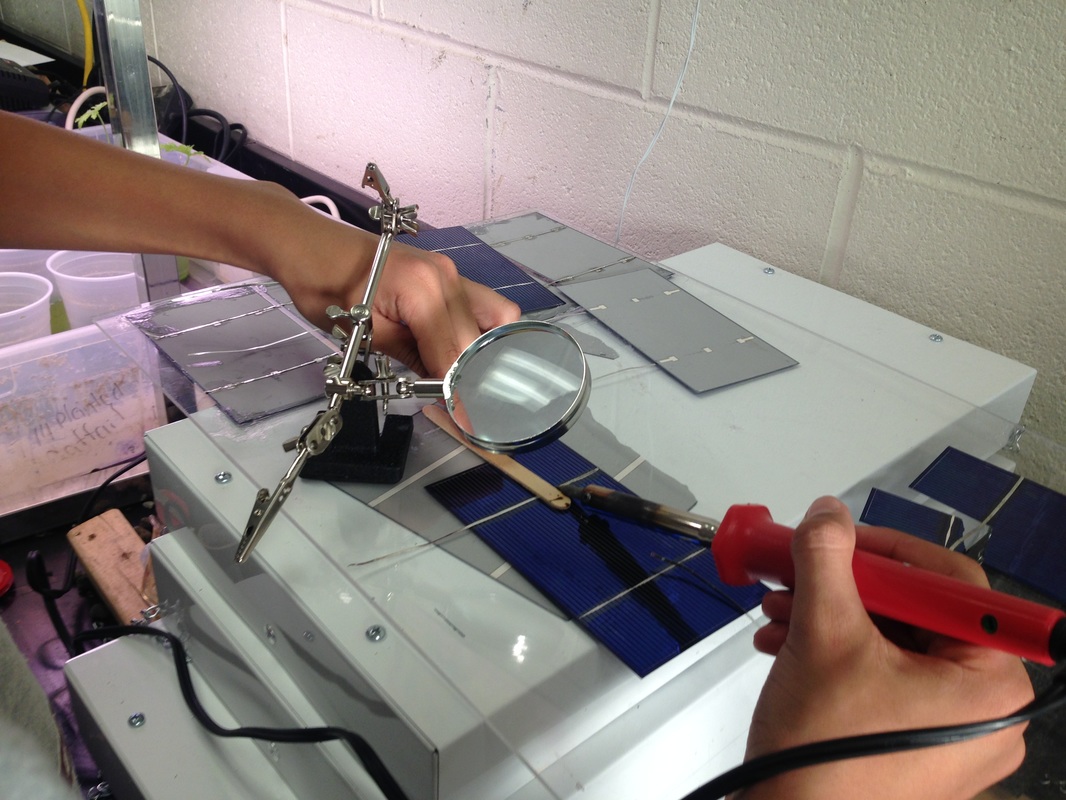
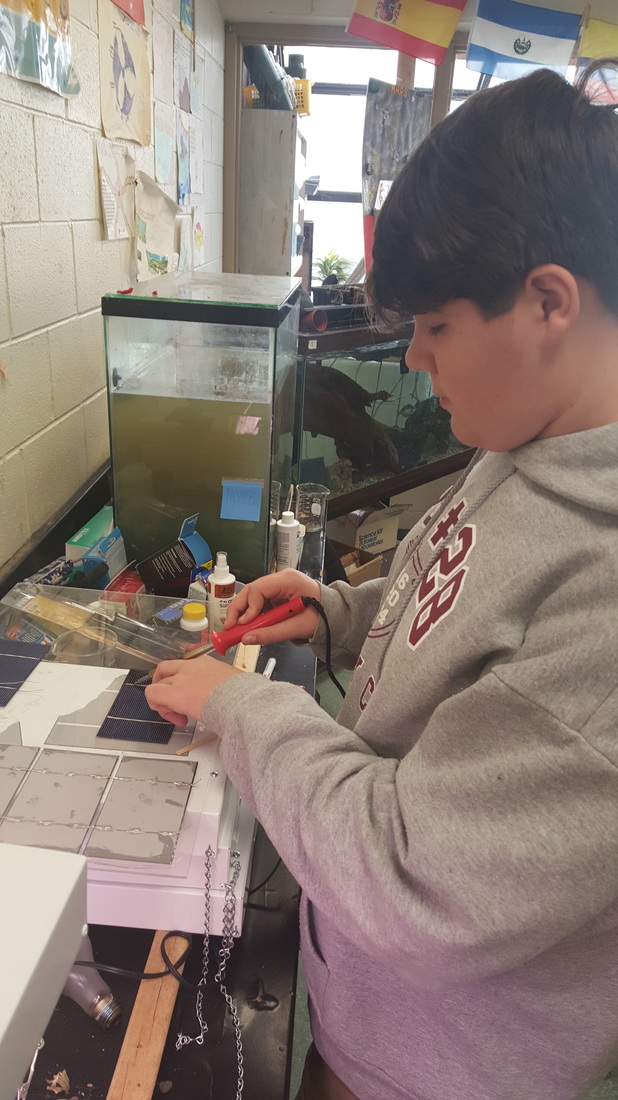
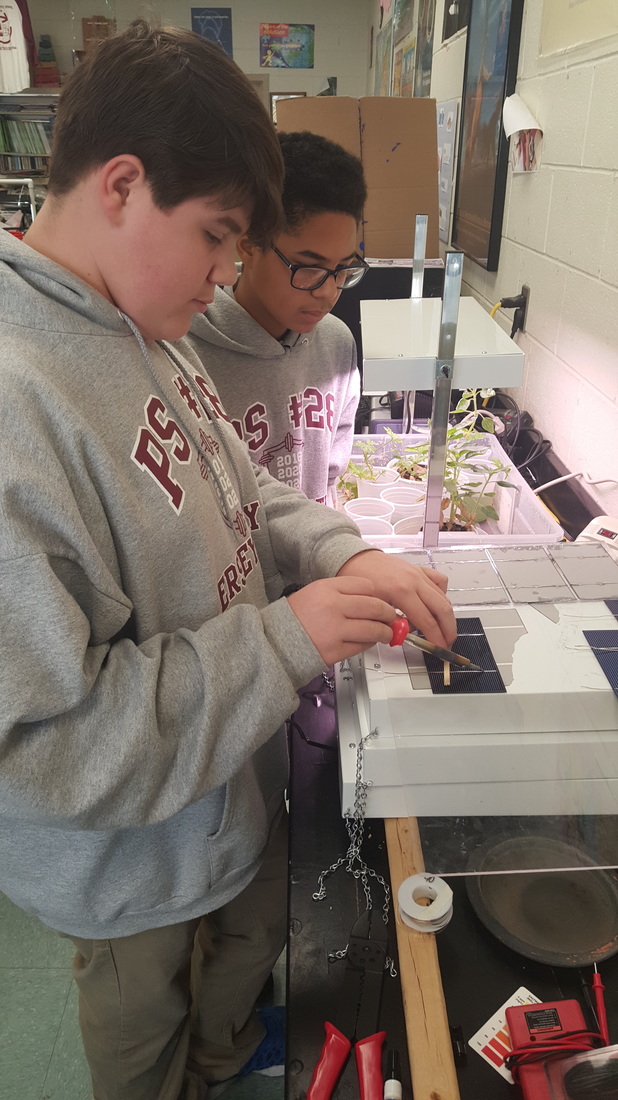

Working on Solar panels to add to the BeeSafes technology and fixing inuslation tape in the BeeSafe. Check out our new you tube video for more footage and videos. Titled "Progression of the AnthoSavers."
Data
What We Are Doing
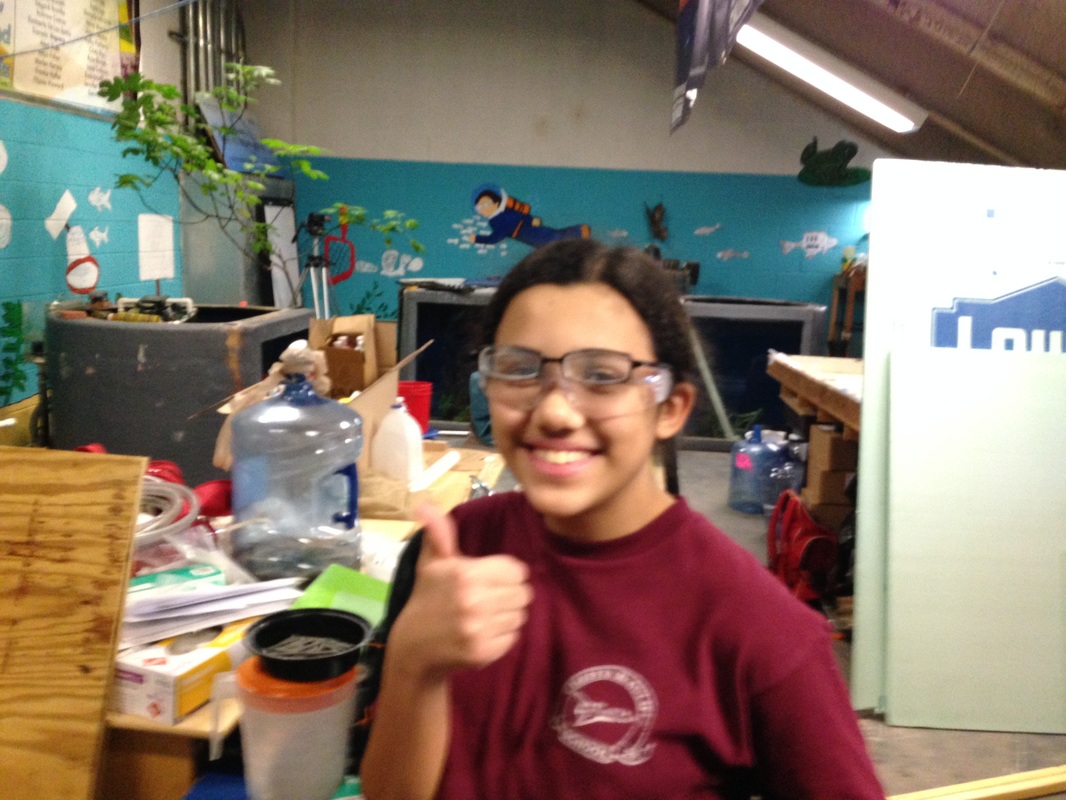
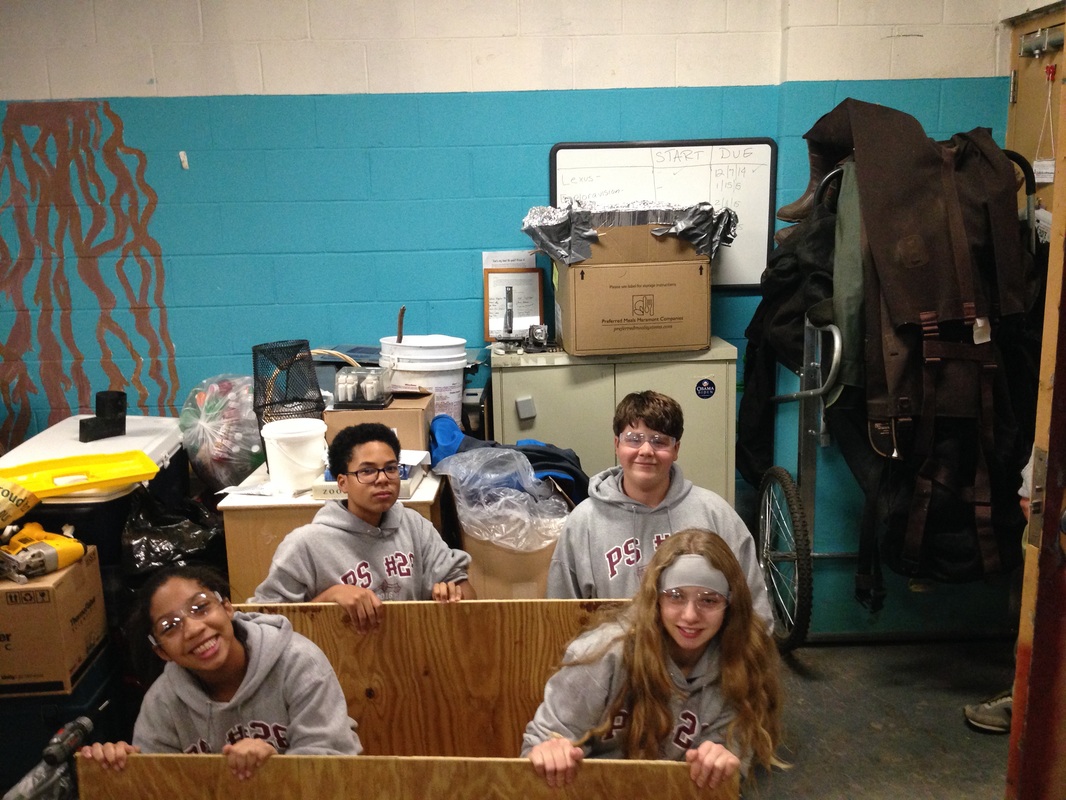
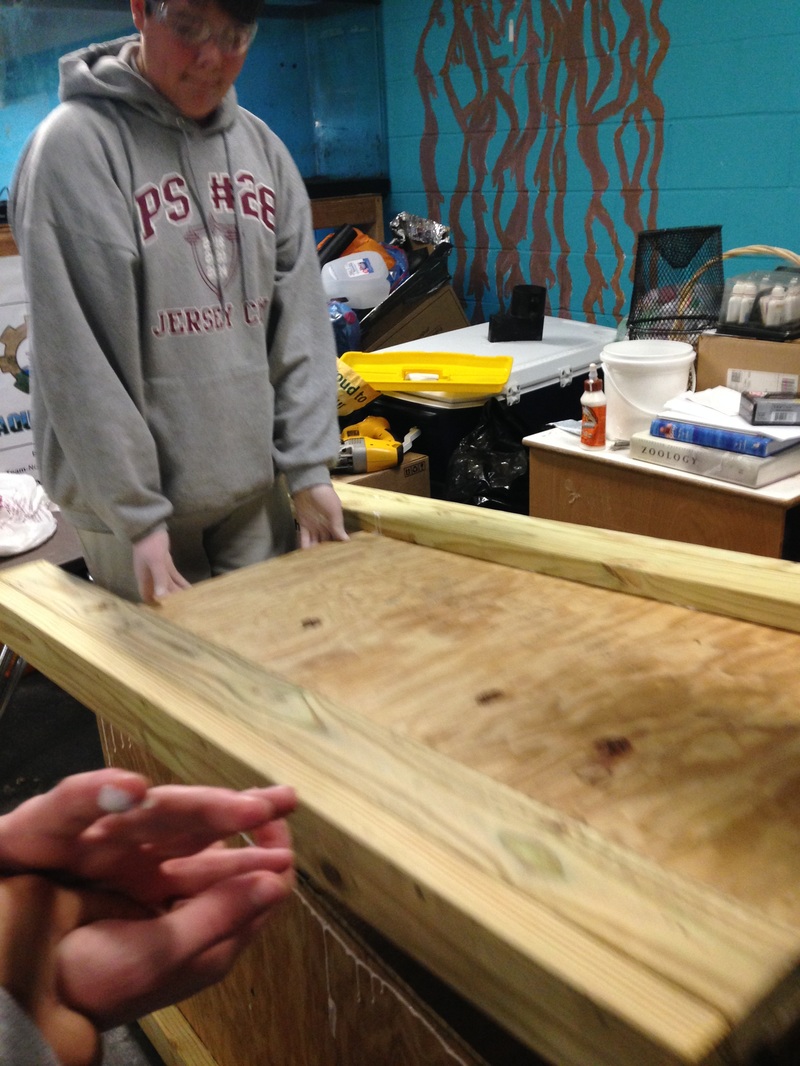
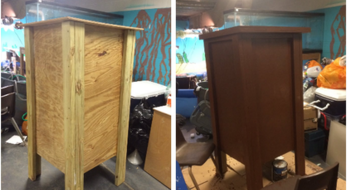
We are currently working on our new bee safe prototype with our mentor Mr. Naatus. Above you will see the difference from day one to the very last when we have our completed bee safe.
Go Check Out Our New YouTube Video Staring Isabella Fasani from Plastic Elastics 2.0!
Check out our new video "Progression of the AnthoSavers."